Blogs
Microsoft Fabric: Expert Guidance for a Successful Evaluation
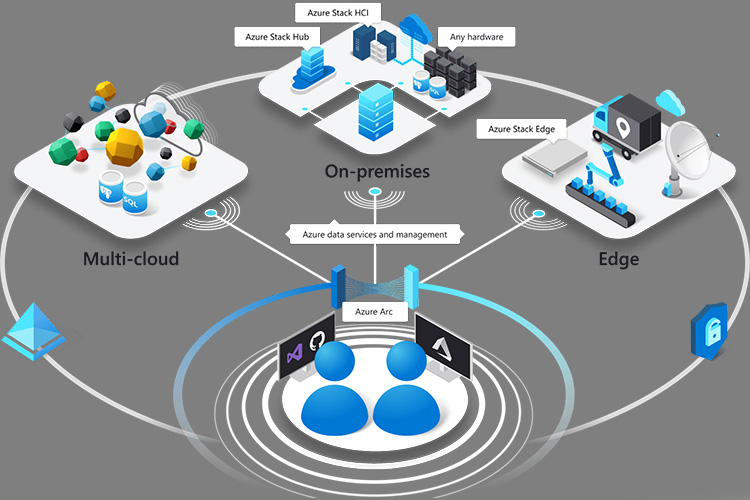
Azure Arc enabled Kubernetes allows you to connect Kubernetes clusters to Azure for extending Azure’s management capabilities like Azure Policy, GitOps, Azure Monitor, Microsoft Defender, Azure RBAC, and Open service mesh, Azure Machine learning capabilities.
With Azure Arc, customers can attach, connect and configure Kubernetes clusters running anywhere public cloud providers and on-premises data centers outside of Azure and deploy modern applications at scale. Key features include Inventory, grouping, tagging and organization, governance and configuration, integrated DevOps and management capabilities, and a unified tool experience..
In this blog, we will follow a step by step approach and learn how to:
1. Connect Kubernetes clusters running outside of Azure
2. GitOps – to define applications and cluster configuration in source control
3. Azure Policy for Kubernetes
4. Azure Monitor for containers
Create a Resource Group using below command in Azure portal choose your desired location. Azure Arc for Kubernetes supports most of the azure regions. Use this page Azure products by region to know the supported regions.
* az group create –name AzureArcRes -l EastUS -o table
For example: az group create –name AzureArcK8sTest –location EastUS –output table
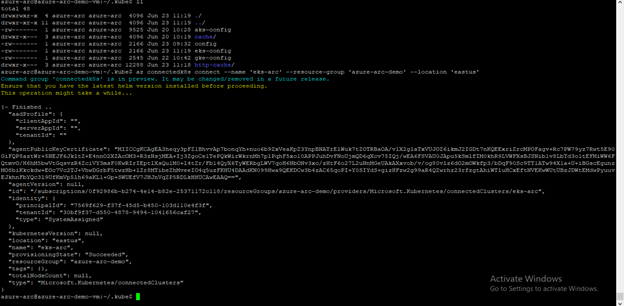
We use az connectedk8s connect cli extension to attach our Kubernetes clusters to Azure Arc.
This command verify the connectivity to our Kubernetes clusters via kube-config (“~/.kube/config”) file and deploy Azure Arc agents to the cluster into the “azure-arc” namespace and installs Helm v3 to the .azure folder.
For this demonstration we connect and attach AWS – Elastic Kubernetes service and Google cloud – Kubernetes engine. Below, we step through the commands used to connect and attach to each cluster.
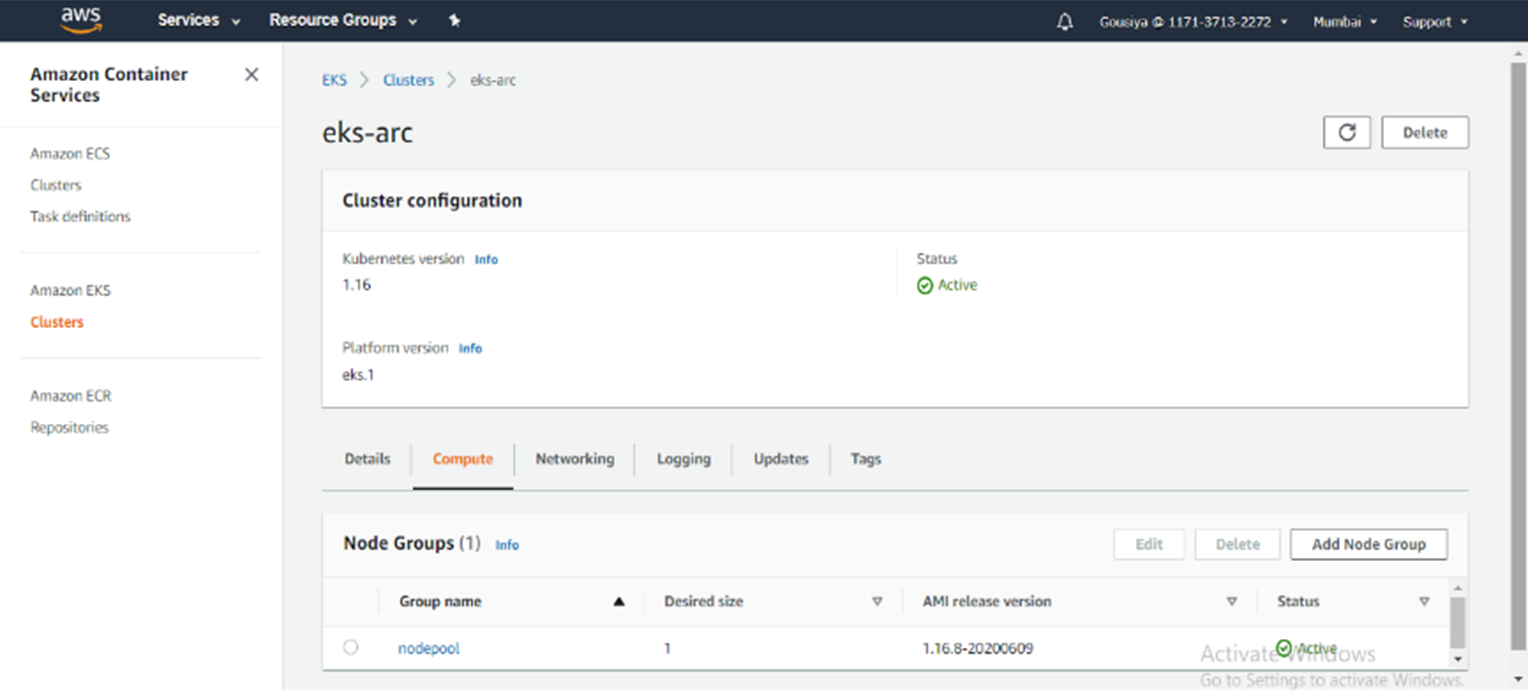
* aws eks –region <Region> update-kubeconfig –name <ClusterName>
* kubectl get nodes

* az connectedk8s connect –name <ClusterName> –resource-group AzureArcRes
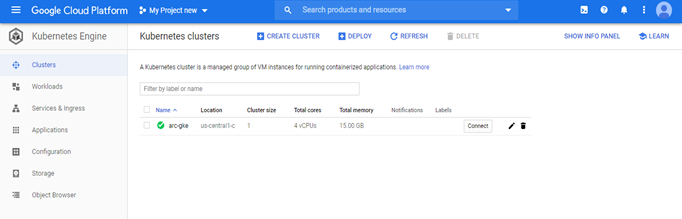
* gcloud container clusters get-credentials <ClusterName> –zone <ZONE> –project <ProjectID>
* kubectl get no
* az connectedk8s connect –name <ClusterName> –resource-group AzureArcRes

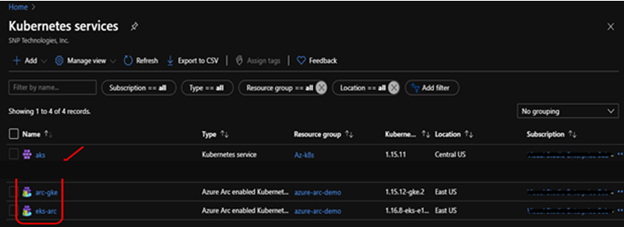
* az connectedk8s list -g AzureArcRes -o table

It provides rich monitoring experience for the Azure Kubernetes Service (AKS) and AKS Engine clusters. This can be enabled for one or more existing deployments of Arc enabled Kubernetes clusters using az cli, azure portal and resource manager.
Create Azure Log Analytics workspace or use an existing one to configure the insights and logs. Use below command to install the extension and configure it to report to the log analytics workspace.
*az k8s-extension create –name azuremonitor-containers –cluster-name –resource-group –cluster-type connectedClusters –extension-type Microsoft.AzureMonitor.Containers –configuration-settings logAnalyticsWorkspaceResourceID=<armResourceIdOfExistingWorkspace
It takes about 10 to 15 minutes to get the health metrics, logs, and insights for the cluster. You can check the status of extension in the Azure portal or through CLI. Extension status should show as “Installed”.

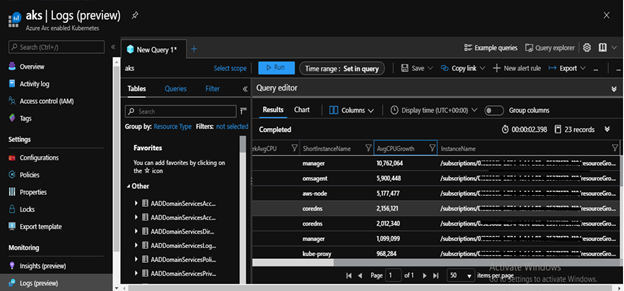
We can also scrape and analyze Prometheus metrics from our cluster.
Clean Up Resources
To delete an extension:
* az k8s-extension delete –name azuremonitor-containers –cluster-type connectedClusters –cluster-name –resource-group
To delete a configuration:
*az k8sconfiguration delete –name ” -g ” –cluster-name ” –cluster-type connectedClusters
To disconnect a connected cluster:
* az connectedk8s delete –name –resource-group
Conclusion:
This blog covers the overview of the Azure Arc enabled Kubernetes with an example on how SNP helps its customers setup Kubernetes clusters with Azure Arc and deploy at scale. To help you accelerate your Kubernetes journey with our subscription services that supports installing production-grade Kubernetes on-premises, in Microsoft Azure. Contact SNP specialists here.
We use the connected GKE cluster for our example to deploy a simple application.
Create a configuration to deploy an application to kubernetes cluster.
We use “k8sconfiguration” extension to link our connected cluster to an example git repository provided by SNP.
* export KUBECONFIG=~/.kube/gke-config
* az k8sconfiguration create \
–name app-config \
–cluster-name <ClusterName> –resource-group <YOUR_RG_NAME>\
–operator-instance-name app-config –operator-namespace cluster-config \
–repository-url https://github.com/gousiya573-snp/SourceCode/tree/master/Application \
–scope cluster –cluster-type connectedClusters
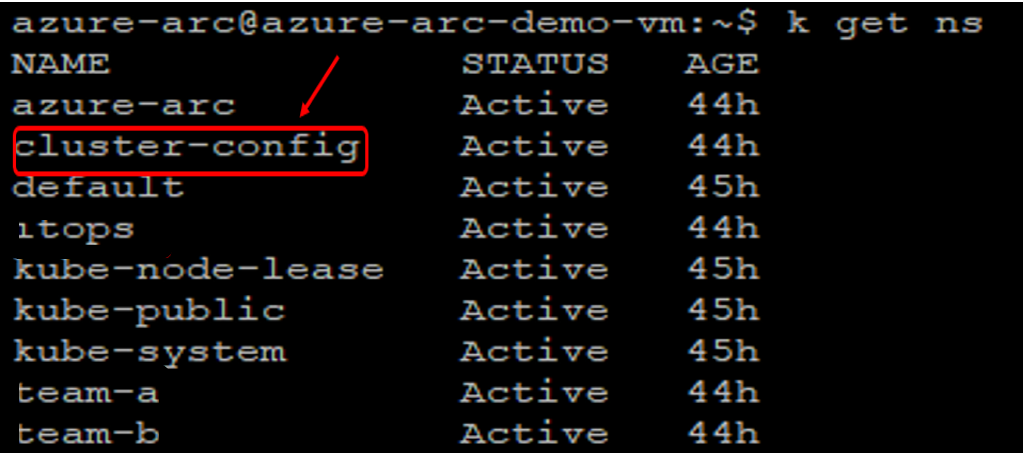
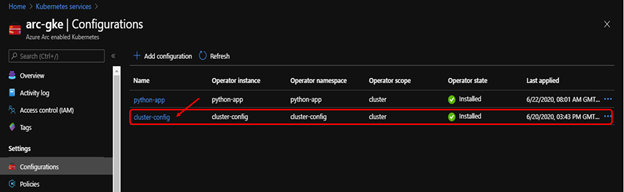
Check to see that the namespaces, deployments, and resources have been created:
* kubectl get ns –show-labels
We can see that cluster-config namespace have been created.
* kubectl get po,svc
The flux operator has been deployed to cluster-config namespace, as directed by our sourceControlConfig and application deployed successfully, we can see the pods are Running and Service LoadBalancer IP also created.
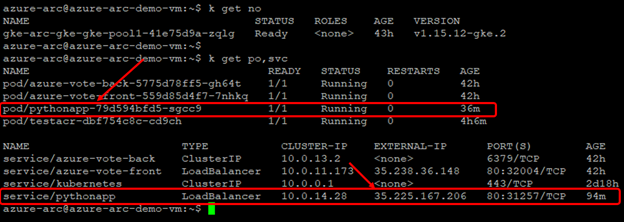
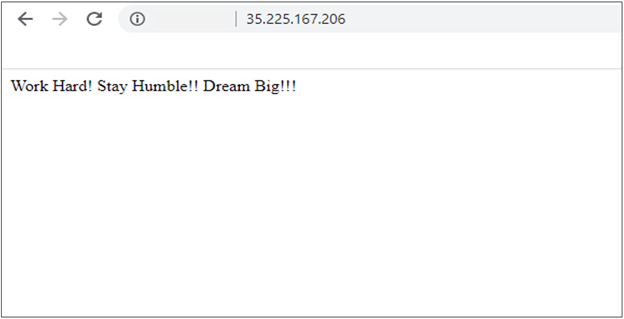
Access the EXTERNAL-IP to see the output page:
Please Note:
Supported repository-url Parameters for Public & Private repos:
* Public GitHub Repo – http://github.com/username/repo (or) git://github.com/username/repo
* Private GitHub Repo – https://github.com/username/repo (or) git@github.com:username/repo
* For the Private Repos – flux generates a SSH key and logs the public key as shown below:

For this demonstration we connect and attach AWS – Elastic Kubernetes service and Google cloud – Kubernetes engine. Below, we step through the commands used to connect and attach to each cluster.
Microsoft.Kubernetes/connectedclusters resource or Git-Ops enabled Microsoft.ContainerService/managedClusters resource has specific Microsoft.KubernetesConfiguration/sourceControlConfigurations applied on it.
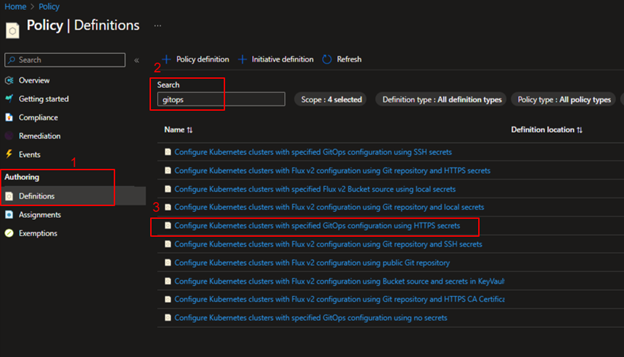 Select the policy definition and click on Assign option above and set the scope for the assignment. Scope can be Azure resource group level or subscription and complete the other basics steps – Assignment name, Exclusions, remediation etc.
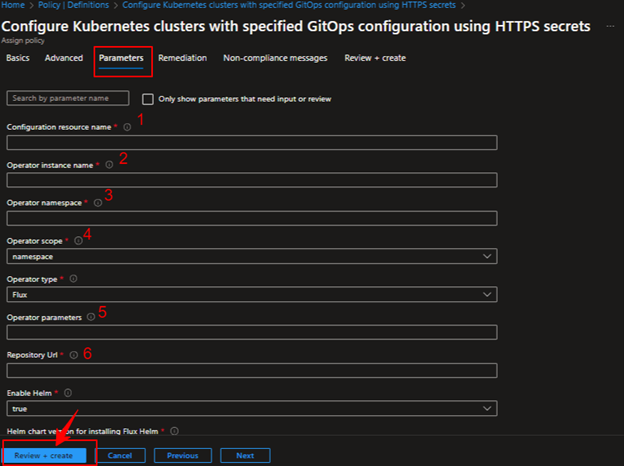
Click on parameters and provide name for the Configuration resource, Operator instance, Operator namespace and set the Operator scope to cluster level or namespace, Operator type is Flux and provide your application github repo url (public or private) in the Repository Url field. Now, additionally pass the Operator parameters such as “--git-branch=master --git-path=manifests --git-user=your-username –git-readonly=false” finally click on Save option and see the policy with the given name is created in the Assignments.
Once the assignment is created the Policy engine will identify all
Select the policy definition and click on Assign option above and set the scope for the assignment. Scope can be Azure resource group level or subscription and complete the other basics steps – Assignment name, Exclusions, remediation etc.
Click on parameters and provide name for the Configuration resource, Operator instance, Operator namespace and set the Operator scope to cluster level or namespace, Operator type is Flux and provide your application github repo url (public or private) in the Repository Url field. Now, additionally pass the Operator parameters such as “--git-branch=master --git-path=manifests --git-user=your-username –git-readonly=false” finally click on Save option and see the policy with the given name is created in the Assignments.
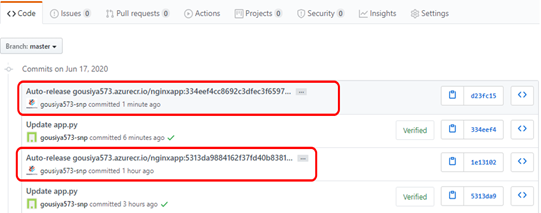
Once the assignment is created the Policy engine will identify all connectedCluster or managedCluster resources that are located within the scope and will apply the sourceControlConfiguration on them.
 --git-readonly=false enables the CI/CD for the repo and creates the Auto releases for the commits.
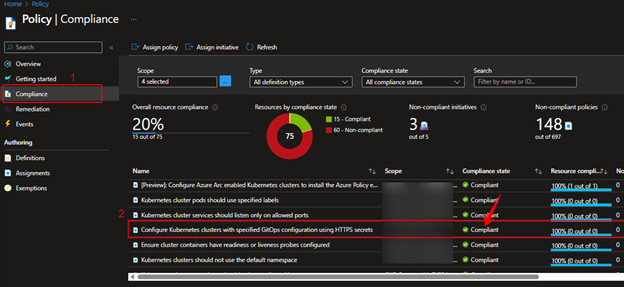
 We can see the policy assignment that we created above, and the Compliance state should be Compliant.